


You’ve selected a photographer, planned for the photo session, and now you have a gallery of images to select from. How do you choose which photos to print? You may have begun to imagine a beautiful gallery wall display or thought about giving photos as gifts to family and friends. However, the thought of selecting which photos to print is purely overwhelming.
As a Seattle newborn photographer and a mom of 6 obsessed with giving photos as gifts, I’m here to help you feel at ease.
This is going to be more general how I approach narrowing down which photos to use for which project. In future weeks I’m going to cover more specific projects, like how to use your photos for your walls, gifts, family albums, etc.
Before you can select any photos to print you must first decide how you will use your images.
Whether I am looking at personal photos or photos from my most recent family photo session (yup, photographers have family photos taken too!), I need to decide how I am going to use my photos. This will help me know how many photos I need to select and what type of images I want to use.
For example, is it a holiday card? Then I know I usually do 1-2 entire family photos and one photo of each child individually.
Or am I putting together an album? Then I want 35-40 favorites on average.
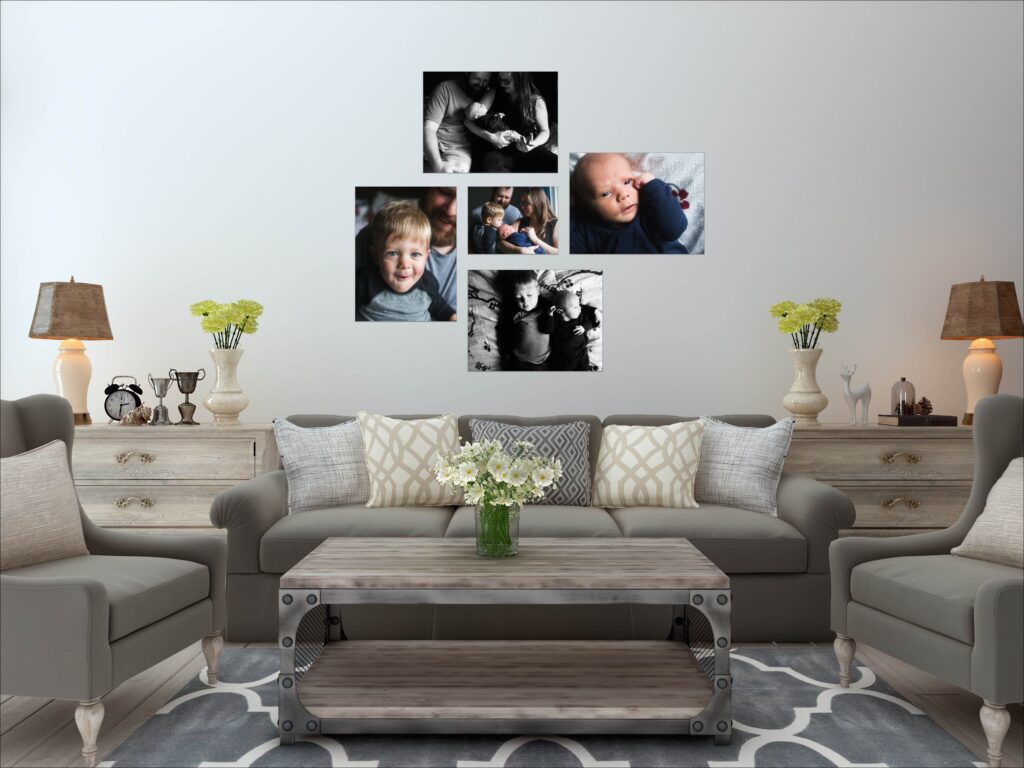
Or maybe I’m creating a wall display. I will then need 1-5 photos to print, depending on the amount of wall space.
In short, decide what you want to do with your photos and that will help you know how many photos you will need to select. (Note: It is okay if you want to use your photos for multiple things. My yearly family photos are used on my walls, in my yearly personal album, and for my Christmas cards).
Next, select your overall favorites and copy them into a separate folder.
When looking at your photos, you may think, ” How on earth can I pick my favorites?! I love them all, my kids look so cute, we look so happy, etc. This step may take you a couple of passes through your photos.
First, favorite with your heart. Which ones speak the most to you?
Once you have your favorite images, go through them again to see if you selected any that are very similar. Compare those and narrow down even more. Often you know which you like more by noticing a better smile, more connection, or even prettier light.
Note: At this point you may still have more images than you need for your project. Again, that is is okay and even a good idea. When it comes time to print your photos for your walls or put them into an album, having extra options in case one photo does not work as well is a good thing. (Then you will not have to go back to the beginning to figure out which image to use)
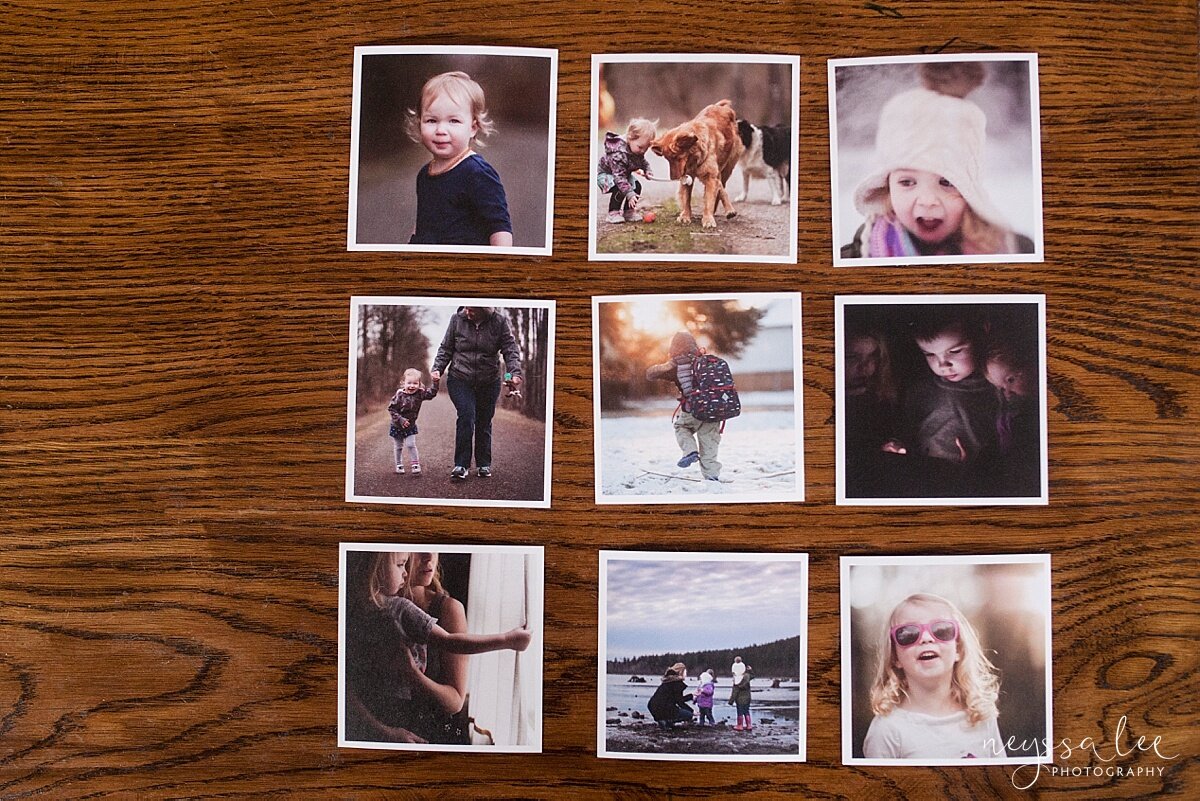
From your favorites, select photos to print that tell a story.
Look through those images you just favorited. Do they tell us a story of that day? If you’ve only selected classic portraits, consider going back through your photos and selecting a wider variety of photos.
Whether it’s on your wall or in an album you want to tell a story with the photos you print. Why are these photos important? What do they tell us about your family? Of course, we love traditional portraits of our kids smiling at the camera. However, if we want to really make an impact with our photos, we want to tell a fuller story.
If it’s an album you want a variety of photos that show details, places life happened, and how the kids grew.
If its for your walls use a mix of photos that highlight different family dynamics, the location, and your love.
Once you have your favorite images, go through them again to see if you selected any that are very similar. Compare those and narrow down even more. Often you know which you like more by noticing a better smile, more connection, or even prettier light.
Note: At this point, you may still have more images than you need for your project. Again, that is okay and even a good idea. When it comes time to actually print your photos for your walls or put them into an album, having extra options in case one photo does not work as well is a good thing. (Then you will not have to go all the way back to the beginning to figure out which image to use).
Now you can move on to using your photos!
With a smaller folder of photos to use you can now move on to actually putting together an album for the year, or ordering prints for frames for your wall, or canvases, or more. The next step will seem so much less intimidating with only your top photos!
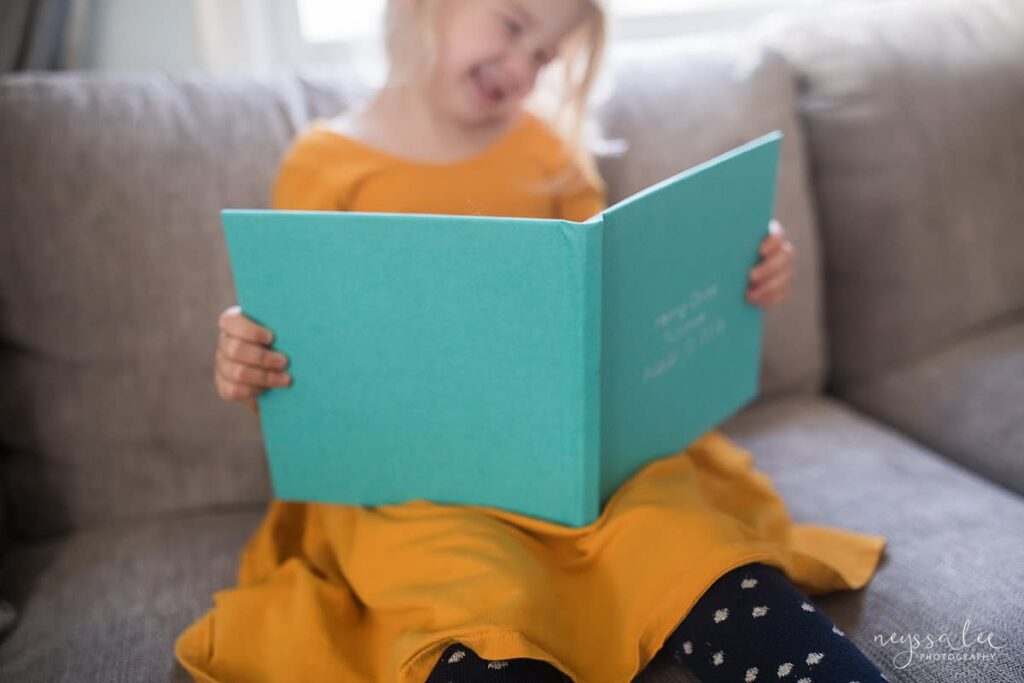
All family and newborn sessions come with a custom album without the work.
When your family photos are taken, you should not be left with a gallery of digital files and no idea what to do next. You should walk away with something tangible helping the process feel more complete. That is why I include a custom album with every family and newborn session.
I put together an album that tells a story and shows off your beautiful family without you having to lift a finger. Would you like to have a little more control? Don’t worry, you can select favorites to be included in your album.
Discover more tips on all things family portraits in your inbox by subscribing to my monthly newsletter. Plus start planning for your family photo session with the resources below.