


Where do you begin using your family photos?
Are you feeling completely overwhelmed with what to do with your photos? Do you have so many that you’re just lost on where to start so you don’t do anything?
It is overwhelming to have a hard drive full of photos with no idea what to do with them.
It is so wonderful that you have at least taken the time to take photos and have photos of your family taken. However, I promise, that actually using them instead of just letting them sit on your computer will bring you such joy.
But how? Where do you even start? As a Seattle photographer, I’m sharing a few tips to get begin in using your photos.
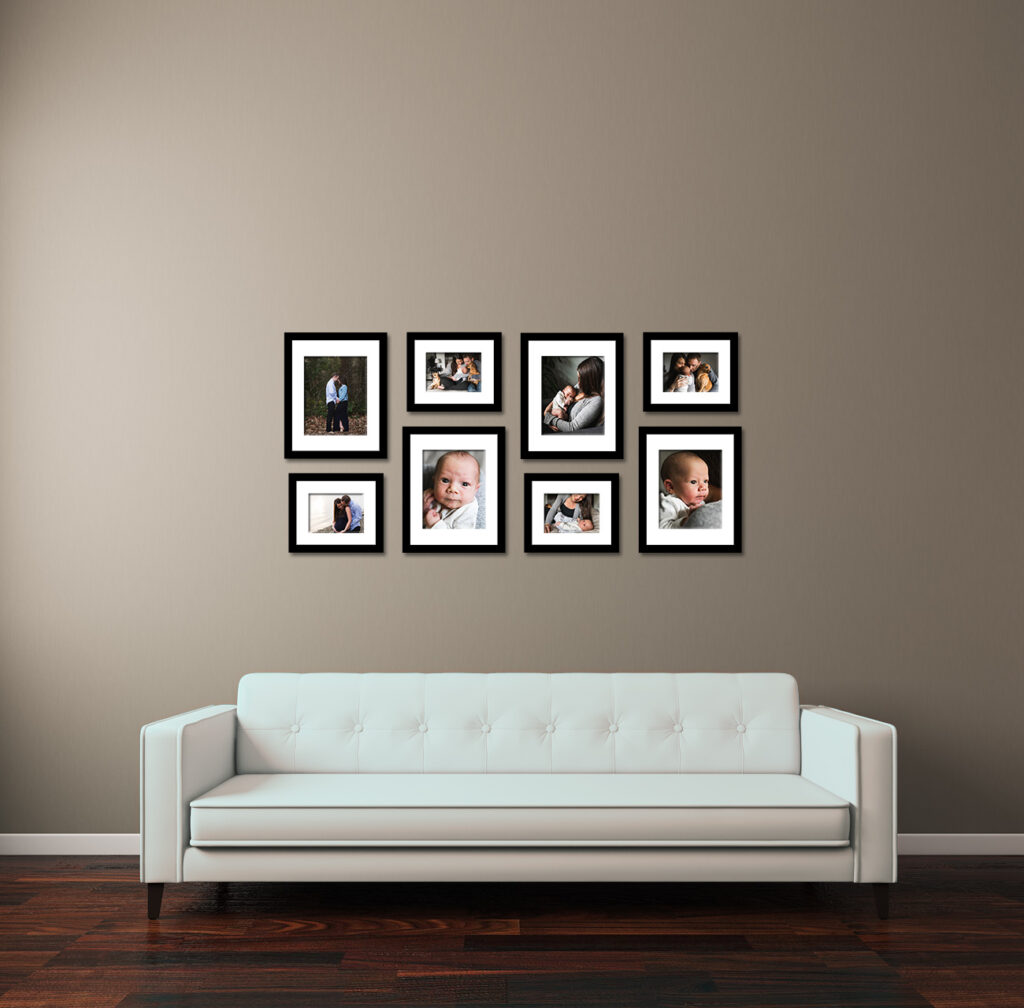
Begin using your photos by adding photos to a wall or mantel.
I want you to start with a relatively small project, but one that will make a big impact. Getting photos printed for your wall, or adding a few photos to frames on your mantel is not a huge undertaking.
It is also something that you can reap the rewards daily. As you see the photos you can feel pride that you have something displayed and want to keep moving on tackling using your photos.
This will help you feel accomplished and build some momentum. Often the hardest part of doing anything is just getting started. So start small, but pack a punch.
For a deeper dive on where to begin using your photos on the wall, check out Transform Your Home With Photo Displays.
Get your photos on the wall for a simple first step.
Get your photos organized.
Now I know I just suggested something that you’re probably thinking, “I thought we were starting small!”. But hear me out. Don’t let this step stop you from beginning using your photos.
You have some momentum from getting something done with your photos. Spending some time organizing them will make any future projects faster and easier.
I personally title my photos by the date they were taken, and then organize them in folders by Year —> Month. That way I can find things in chronological order easily.
I should also add that while you’re at it, back up your photos. Casey aka Miss Freddy has TONS of free resources on organizing and backing up your photos.
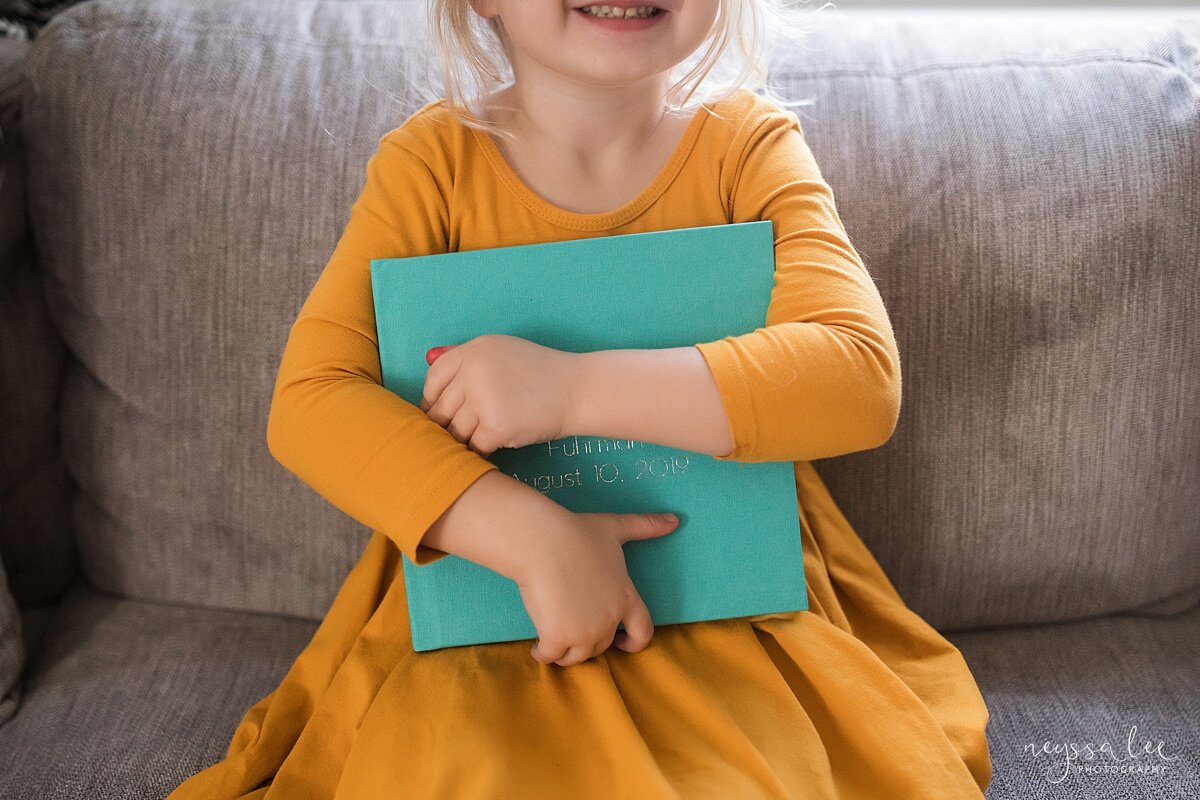
Start with the most recent year first when tackling photo albums.
Again, I’m going to be going into more depth for various ways to use your photos (including making albums). One of the questions I was asked most about how to begin was regarding albums, so I wanted to address this here.
“I used to scrapbook, but I’m way behind. Where do I start?”
“I haven’t made any family albums since my oldest was a newborn, he’s 10 now. Where do I start?”
Questions like this came flooding in.
Once again, it’s all about momentum. I suggest you start with the most recent year (or even a recent trip) and do that first. The information and experiences will be more fresh in your mind and thus take less time. Once you have that album in your hand you will see how worth it is to create the album and then do the next year backwards.
So for example, start by finishing your 2019 yearly family album. Then do 2018, then 2017 and so on until you are caught up.
The biggest tip when looking where to begin using your photos is to break up your photo project into smaller tasks.
Again if you think of using your photos as a huge project you’ll never find time to start it. Instead, break it down into more manageable chunks. For example, begin using your photos for your walls, organizing your photos, creating a 2019 photo album, creating an album for that really awesome vacation, creating a baby book for your youngest, and so on.
Write down your list and then consider if each of those tasks can be broken down even further. (For a photo book, for example, you’d start with selecting photos in a folder, selecting the company to make the book, and so on).
Now you have bite-sized projects you can tackle when you have 20 minutes or even an hour. You won’t feel overwhelmed by the thought of having to do something with all of your photos and can feel accomplished each time you sit down to use your photos!
Simply Begin Using Your Photos.
I want you to know that there is no wrong way to start or wrong thing to do with your photos (except maybe just letting them sit on your hard drive). I think that getting a big win with little effort is key to keeping momentum in any project I tackle. Once I have that win I feel motivated to keep progressing.
So just start somewhere. I have plenty of articles aimed at helping you use your photos. Find them below.