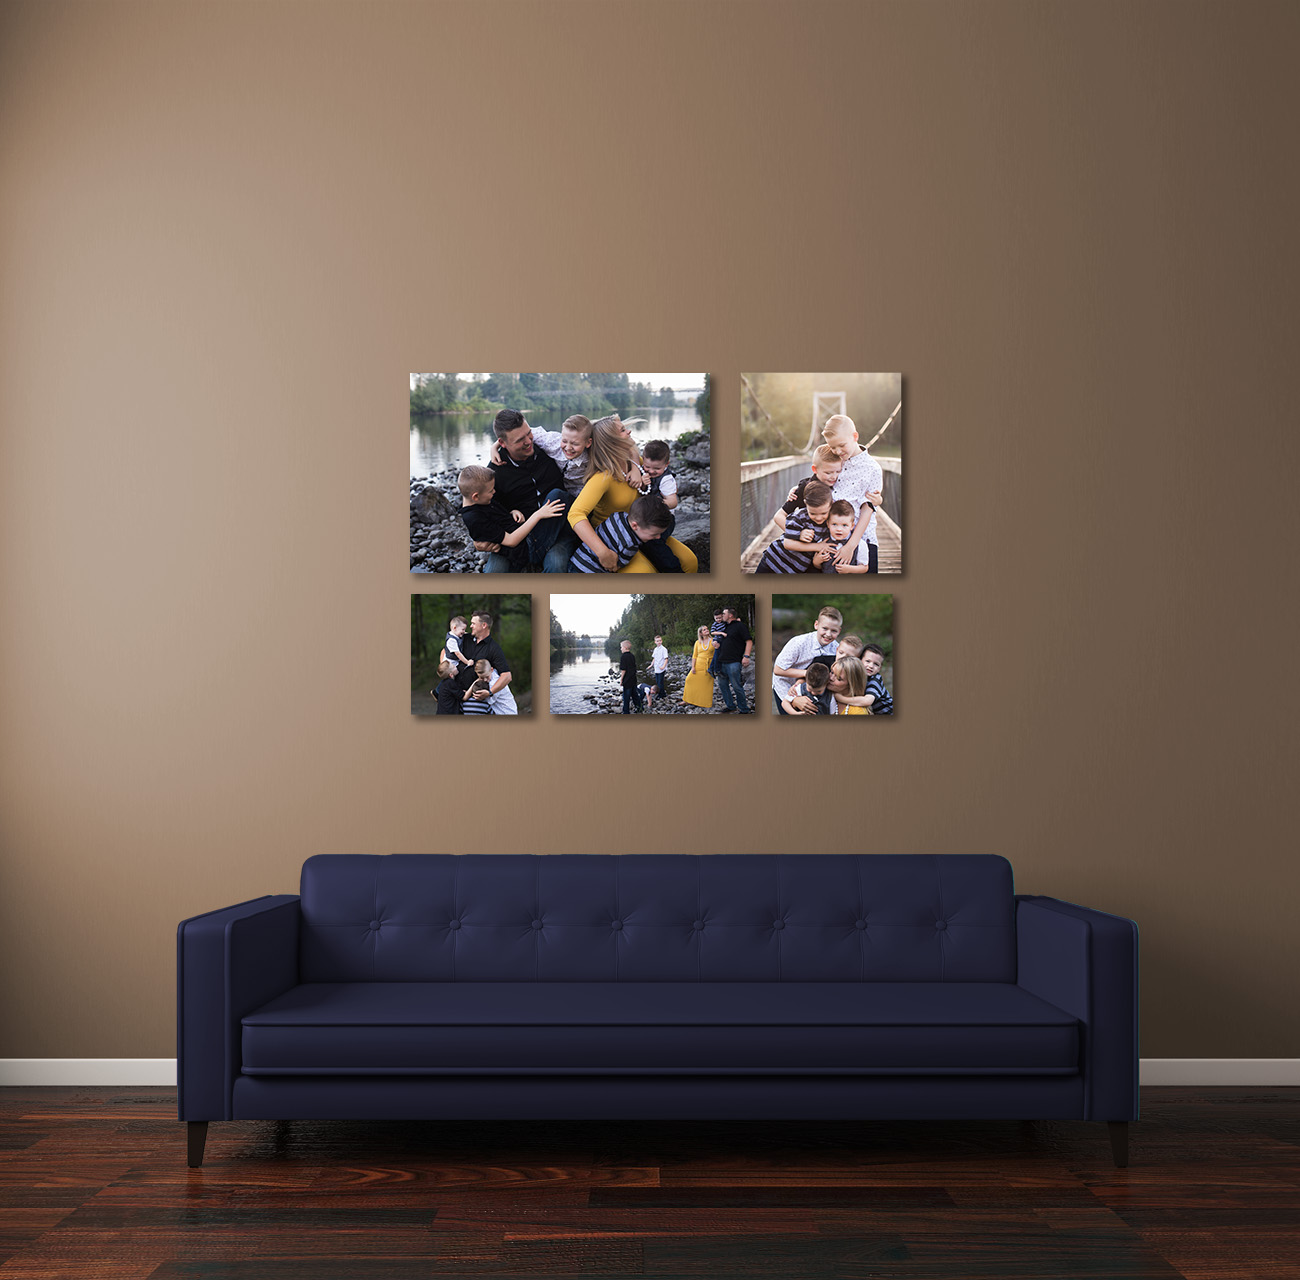
You have had your family photos taken and received a gallery of beautiful images. But now what? How do you use those photos? How do you create photo wall displays that you will be proud to show off?
When I first transitioned to an all-inclusive photographer my main struggle was that families would leave with a gallery full of digital files that just sits on their computer. This is, in part, why I include an album with all family and newborn photography sessions.
Yet there is still so much you can do with your gallery of photographs. I am a big believer in decorating with family photos. If you look around my home, my walls are covered with photos of my family over the years. It is my favorite part of my house, the photos are what make my house feel like a home.
It can feel overwhelming trying to decide which photographs to display and how to make the post impact. So today, I’m sharing five tips for creating stunning photo wall displays for your home.
My first tip in creating stunning photo wall displays is that size matters.
This is first and foremost important. The most common-sized gift prints are 5×7 and 8×10. However, on your walls, these will look tiny and disproportionate. You want to consider the entire size of the space, and any furniture it will be hanging over.
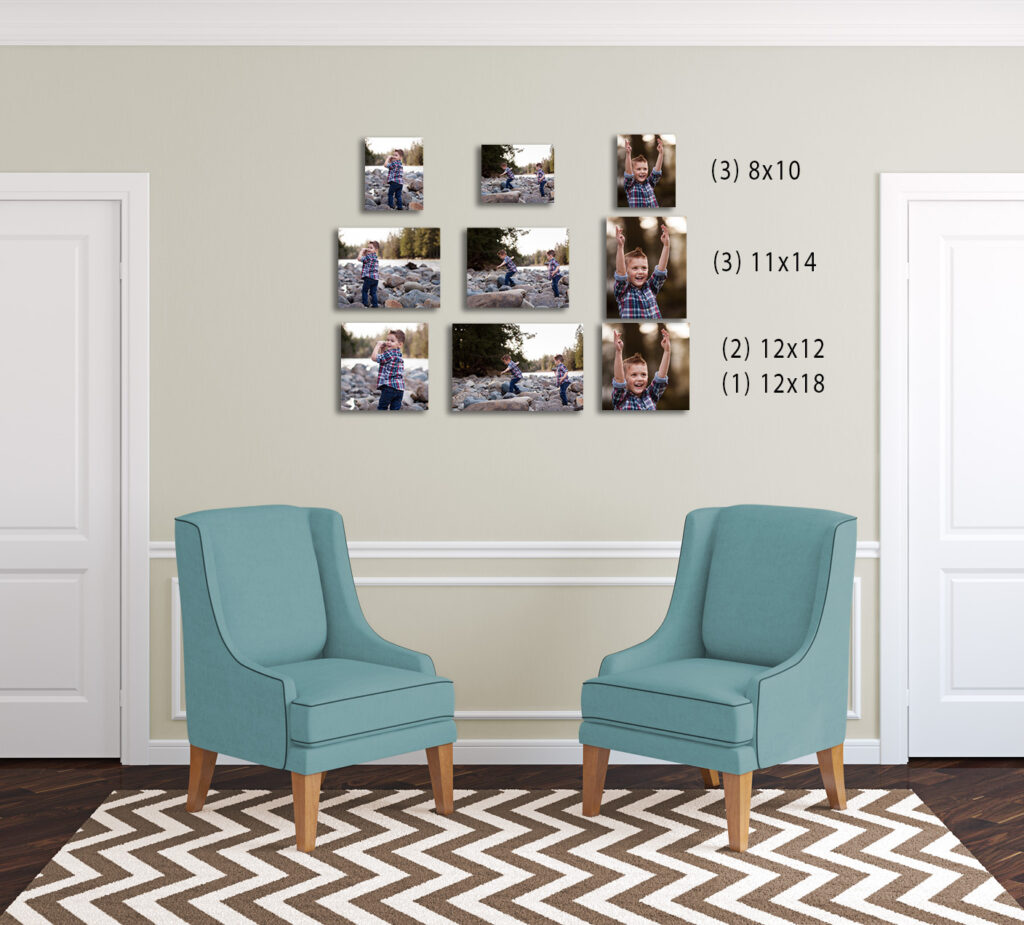
Next, decide between using one large photo or several photos in your Wall Display
Now that you’re thinking about the size of the space your wall display will cover, the next thing to think about is if you want to display one photo or several. You can use one large photograph to really make a statement, or if you’re like me and have a hard time just choosing one photo, you can select several photos from your gallery to include.
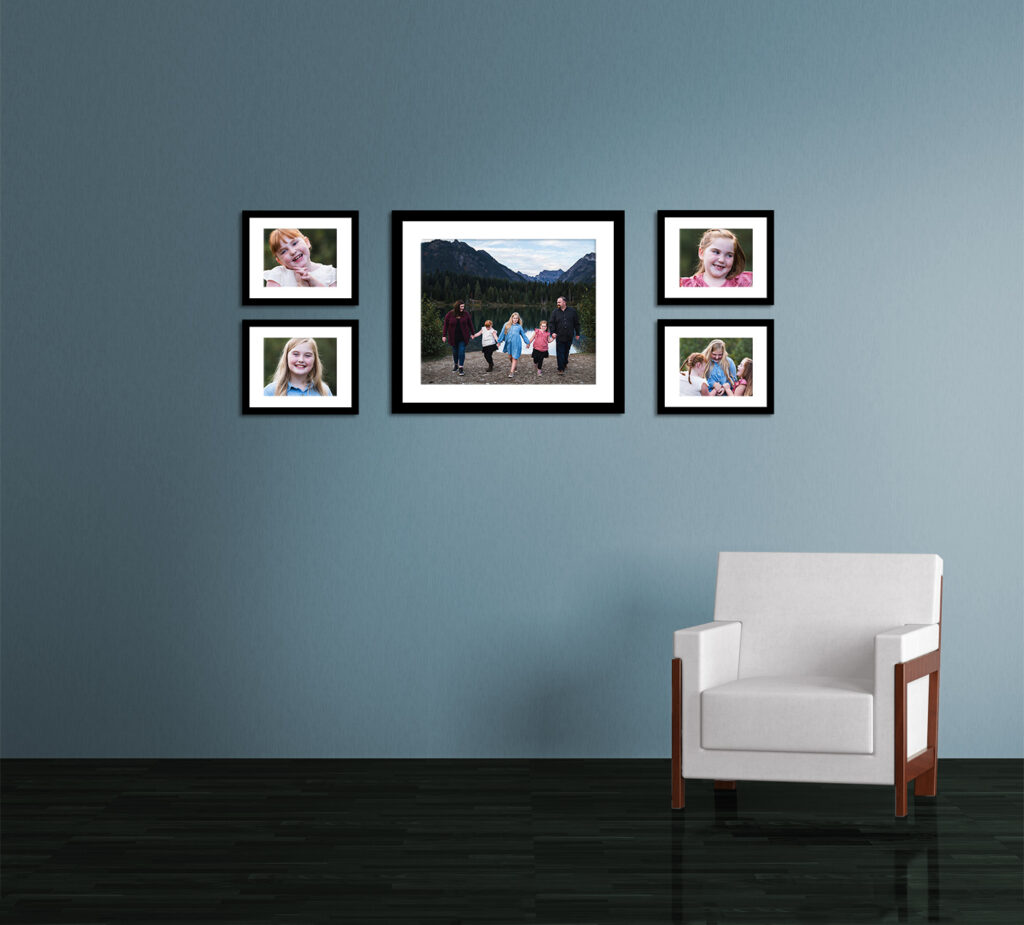
Another tip is to use your wall display to tell a story.
It is easy to just want to show off a portrait of each of your children smiling at the camera. I do have an area in my home where I just have those nice portraits. However, in your more prominent areas (i.e above the mantel or living room couch, or even on the main wall in the dining room) by using your photo wall display to tell a story you will be creating a truly stunning sight that will keep people looking.
To tell a story, I use a mix of images from the gallery. When putting together a grouping of photos, I will often select:
- 1 portrait of each child
- 1 sibling photo
- 1 photo of the family loving on each other
- 1 wider portrait of the family that shows off the environment.
Now, to really enhance the display, do not simply pick images with everyone smiling and looking at the camera. Instead, look for images that make you feel. For the portrait of each child, maybe they are smiling big as they throw a rock or are running towards the camera. Then the sibling photo could have them laughing and hugging. For the family photos, look for one that shows everyone’s faces as they embrace, laugh or are snuggled up together and one that shows more movement and interaction. Together these groupings of photos will tell a beautiful story on your walls.
The next tip for creating a photo wall display is to decide if you want to use framed Prints or canvas wraps.
I love canvas wraps. They are like an all-in-one print, no need to find a frame, just hang. They standout, making them great statement pieces, adding dimension to your walls. However, frames offer a nice flexibility and ease when you’re wanting to update the photos on your walls.
In my home I use a mixture of both frames and canvases. I prefer framed prints for portraits of my children that I change out 1-2 times per year. Further, I may also use a frame in a few spaces where I don’t need anything much larger than a 12×18 or 16×20 size as the large the frame the heavier (and more expensive) you get.
Again, think about the space and your goals with the photo(s) you want to display to help you decide if you want framed prints or canvas wraps.
Finally, use a quality printing lab for your photos.
We all love the self satisfaction of the one-hour photo lab. Yet this photo wall display is something that will stand out in your home. Quality matters. You will see these photos daily, so invest in a quality print lab to ensure not only that the colors and tones are printed correctly, but that the prints or canvases themselves will last.
You can always order professional prints and canvases directly through me (or ask your photographer). I not only can order prints for you, but I can help you decide the right images to include in a display. If you prefer to order yourself, check out Artificat Uprising and read my article Where to Print Your Photos.
Bonus Tip: Five Sample Photo Wall Display Arrangements
Just in case you’re still feeling stuck, here are five of my favorite arrangements for photos (most of these are already on my walls!). You can always adjust the sizes of the prints (keeping the scale) so that they are right for the space in your home. Again, remember tip #1, size matters!
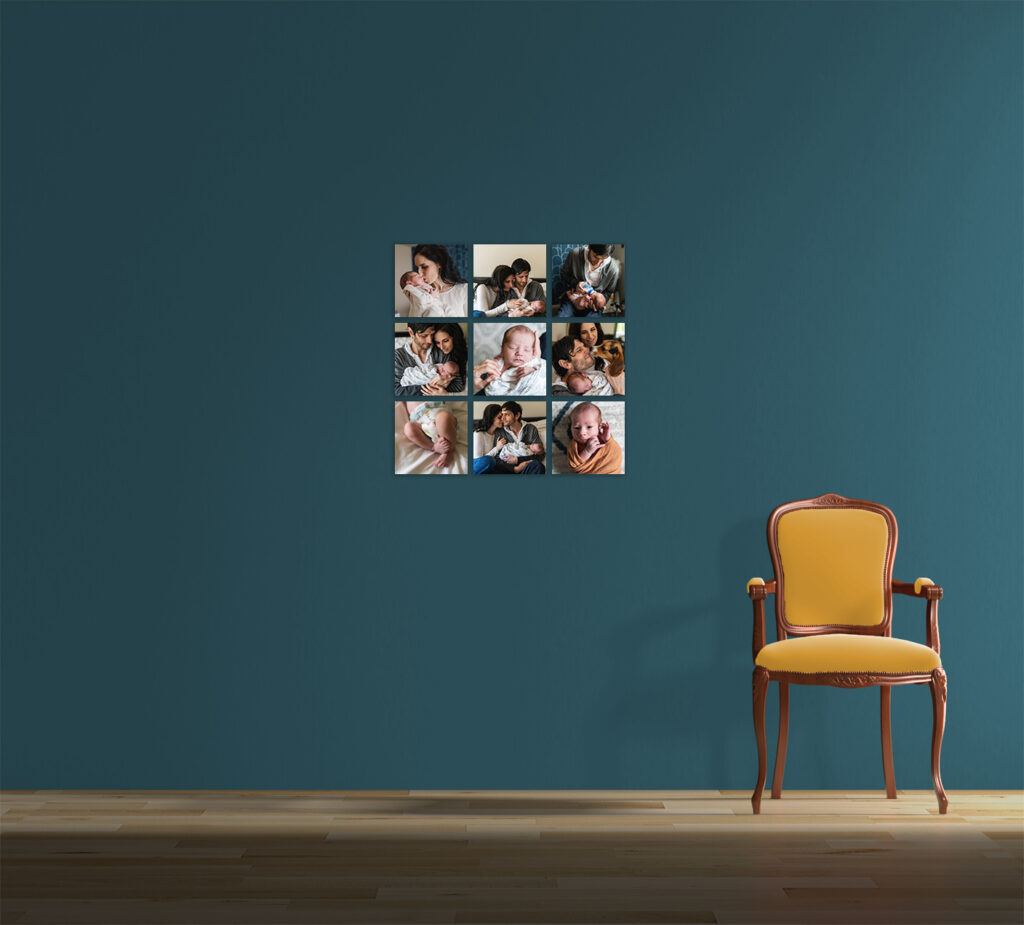
#1: The 10×10 (or 12×12) Photo Grid Display
The photo grid is a simple design that is easy to customize to your space. The photo shown below is of (9) 10×10 canvases, however, you can easily do 12×12 canvases if your space allows. Grids can be done in 9 or 16. I love the ability to incorporate so many photos from your session in one space. Try mixing in simple portraits with more playful and even detailed images in your design.
The photo grid design is great for prominent spaces, like above your couch or mantel, or filling in spaces on walls where there is room.
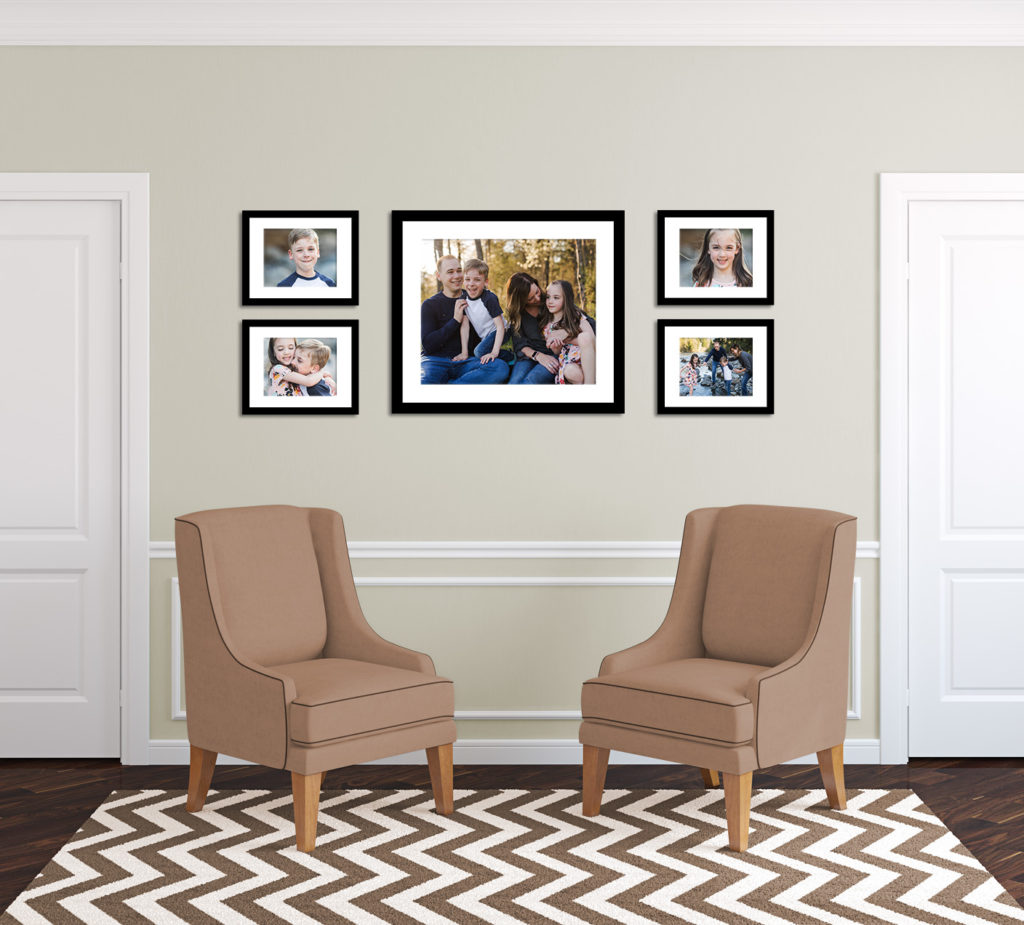
#2 A 20×24 and Four 8×10 Framed Prints for a photo wall display.
This design features a large 20×24’’ print with a 3’’ mat, surrounded by (4) 8×10 prints that are mounted too 11x14s. It allows you to have your favorite family photo as the large, prominent image in the middle surrounded by either other favorite family shots, or (like shown here) individual portraits of each child.
This design works well in living rooms (above the couch or mantel), dining rooms, or even in master bedrooms where there is plenty of space for the framed portraits to shine.
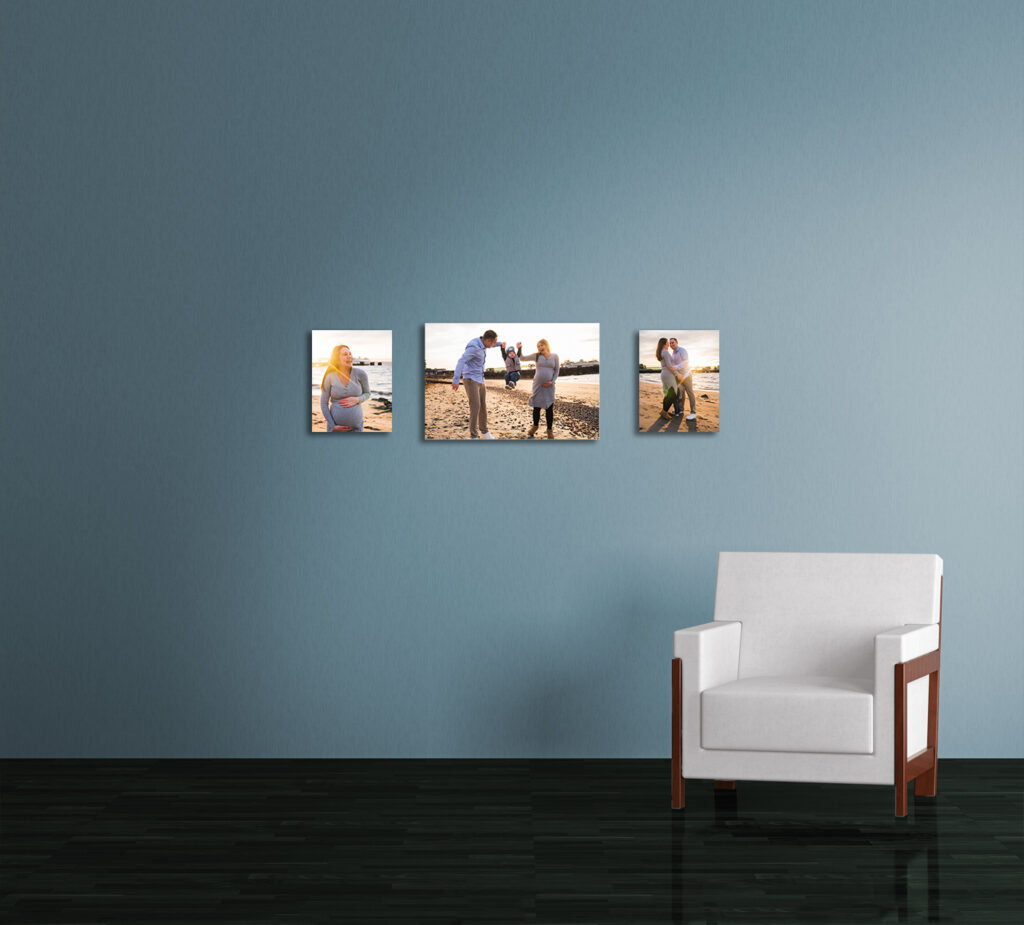
#3 A 16×24 and Two 11x14s canvases
This is a simple design that makes all three images stand out for your photo wall display. It features a 16×24’’ canvas centered between (2) 11×14’’ canvases. This design works well in any space from the living room to the baby’s room! You could mix this photo wall display up by having your images vertical or horizontal.
#4 Four 11×14 canvases or framed prints
This is a great photo wall display design for a smaller space, such as an in office or hallway. Because they are smaller in size, this design can make a great gift for grandparents, too.
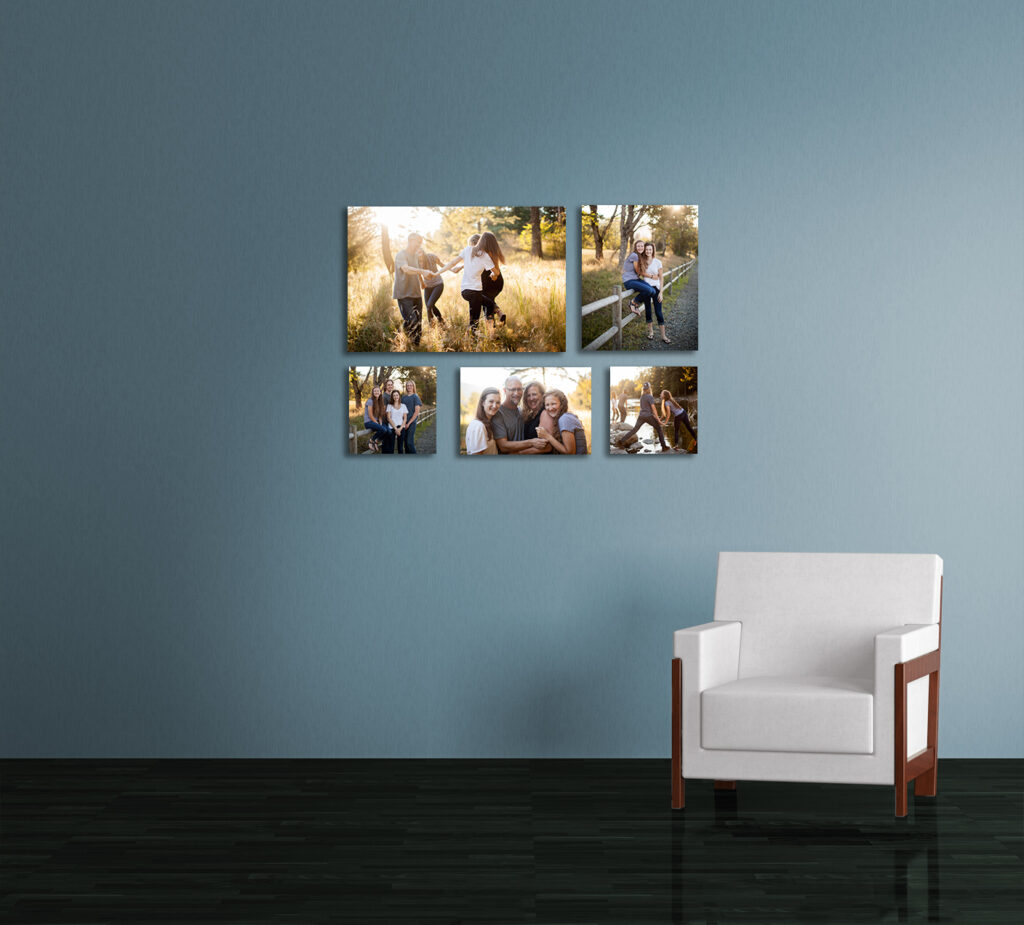
#5 A 20×30, 16×20, 12×18, & Two 12x12s for my favorite of the photo wall displays
This is my all time favorite wall display. It not only provides five opportunities to display images, but as a whole this design makes quite the statement. I have this layout hanging in my own home. It could work well in the master bedroom, above a couch or in the dining room, even.
The most important thing is that you’re printing those photos and showing them off in your home. Any photo wall display is better than none! Trust me, you’ll love having your family photographs beautifully hung on your walls like the art that it is.
If you’re looking for more tips and inspiration on how to use your photos, head to my library of resources!
